Author: yxrkcegqe6ty

  • MaslOS-2

    MaslOS-2

    MaslOS but 2

    This is essentially MaslOS on the outside, but completely different on the inside. The main difference being a working scheduler and support for ELF execution!

    Of course it is 64bit and boots using BIOS. And it works on real hardware!

    Features

    • Basics
      • Scheduler
      • Elf loading
      • User Space
      • Inter Process Communication
      • Stdio using IPC
      • Multithreading (still experimental?)
    • GUI
      • MaslOS GUI Framework port
      • Mouse/Keyboard interaction
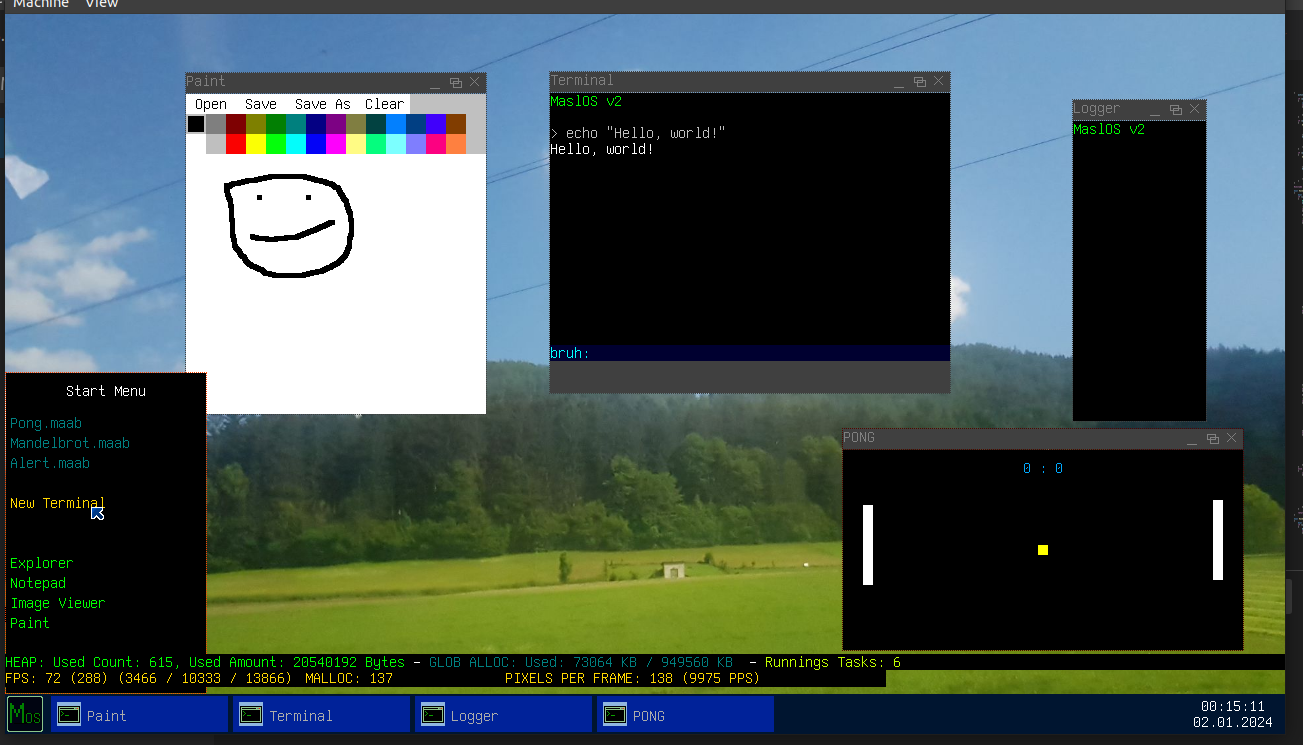
      • MaslOS Desktop / WM
      • Taskbar
      • Start Menu
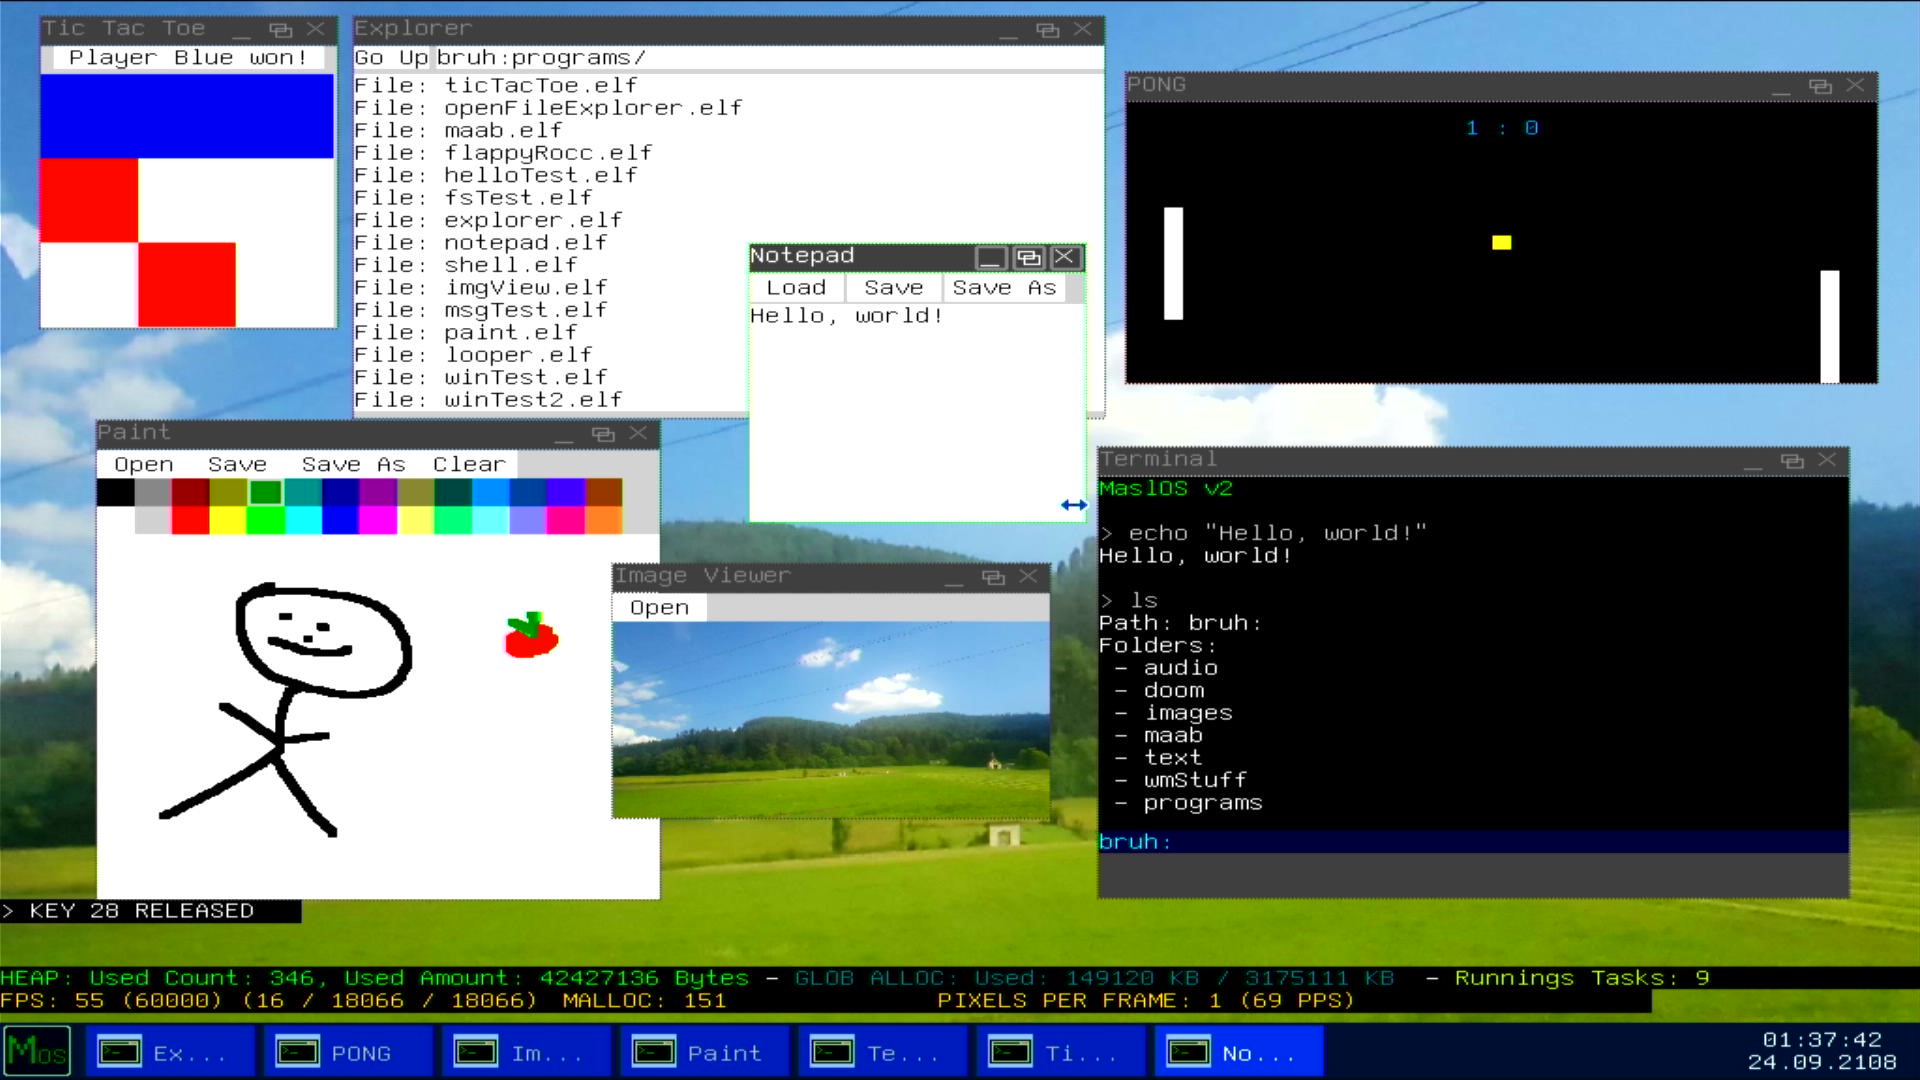
    • Apps
      • Tic Tac Toe
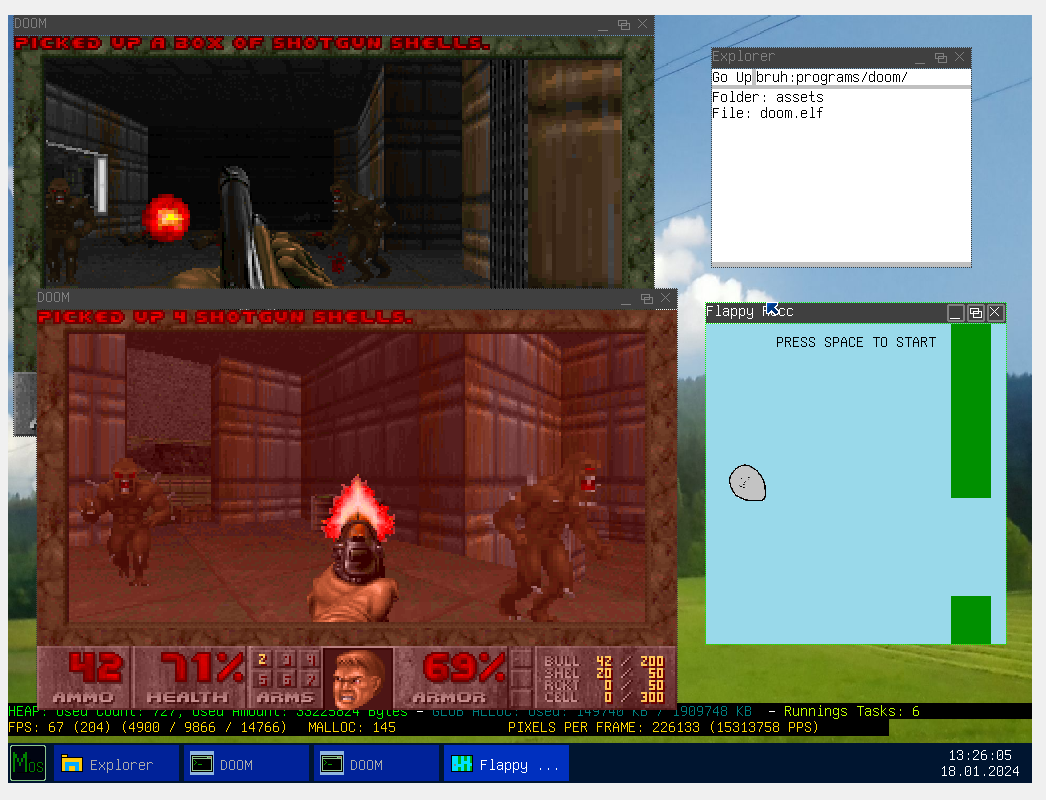
      • Flappy Rocc
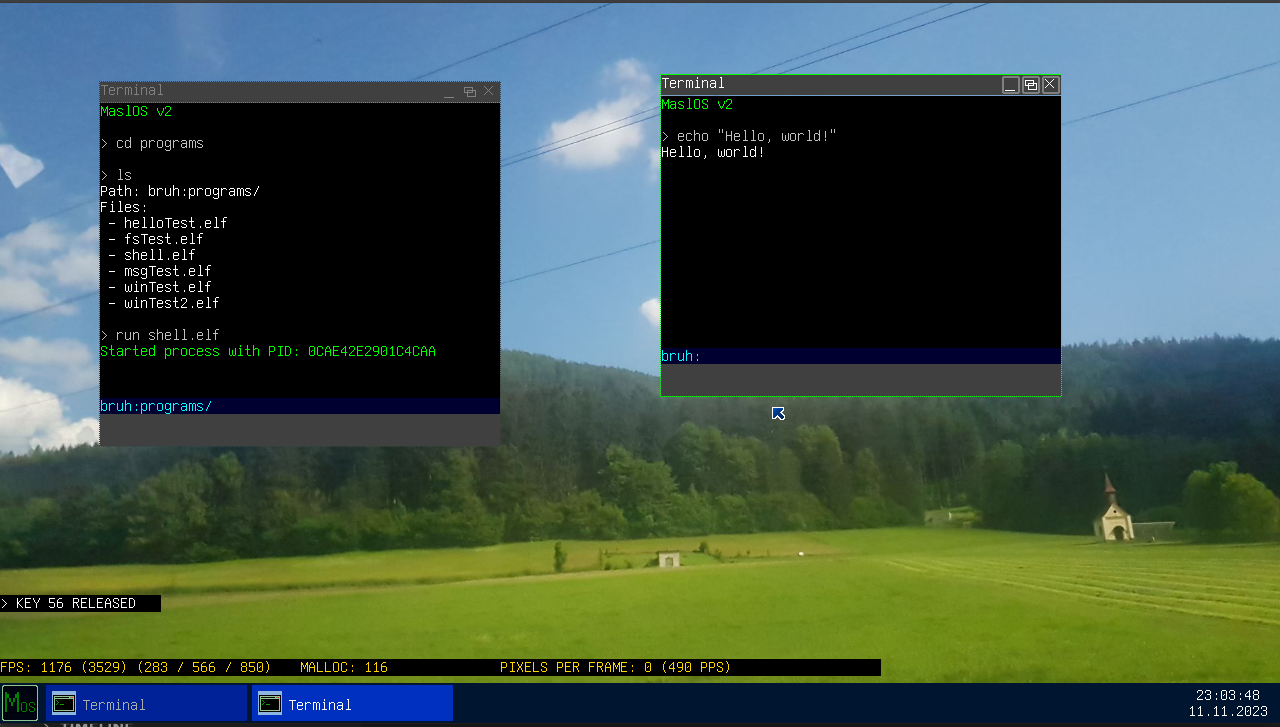
      • Terminal
      • Explorer
      • Image Viewer
      • Music Player (You can see a demo here)
      • MAAB interpreter
        • Pong
        • Maalbrot
      • Notepad
      • Paint (mostly working)
      • Doom
      • Minesweeper
        • Can be launched in 3 modes (easy, medium, hard)
        • Example: run minesweeper.elf medium
      • Connect Four
      • MicroEdit (has some issues)
      • 3D Cube Renderer (has some issues)
      • CalcRocc (has some issues)
      • Snake (soon)
      • Dialogs
        • Open File Dialog
        • Save File Dialog (soon)
        • Generic Information Dialog (soon)
        • Generic Text Input Dialog (soon)
        • Generic Information YES/NO Dialog (soon)
      • Other Apps ported from MaslOS and some extra ones (not yet)
    • Audio
      • Drivers
        • PC-Speaker
        • AC97
      • Audio System (exists, still a bit wip)
    • Other
      • SMP (not added yet)
      • idk more stuff

    How to use

    Start Menu

    You can click on the start menu button in the bottom left corner, to open the start menu.

    In the start menu, you can click on the programs and it will open them.

    Taskbar

    • You can left click on one of the tabs to select it.
    • You can middle click a tab to close it.

    Desktop / Windows

    • You can click on a window to select it.
    • You can drag the window around by holding its top bar.
    • You can also resize it, if allowed, by dragging the sides/corners.
    • You can also minimize the window by clicking the minimize button.
    • You cannot currently maximize the window.
    • To close a window, you can click on the X button.
    • You can quit the whole process of the window by holding SHIFT and pressing the close button.
    • You can also close the window by pressing ALT + F4.

    Mouse Capture

    A window can capture your mouse. This makes sense for games and such.

    You can escape the capture by pressing CONTROL and ESCAPE.

    All Shortcuts

    Here are all the shortcuts for quick reference: (including debug ones)

    • Press F10 to open the explorer
    • Press F12 to open a shell (there is a help command)
    • Press F11 to redraw the desktop (eg. If you get an error)
    • Press F5 to launch an empty elf
    • Press F6 to launch a mini window test
    • Press ALT + F4 to force close a program
    • Press CTRL + ESC to escape mouse capture

    How to build (Linux)

    • Install qemu-system if you haven’t.
    • Install make if you haven’t.
    • Install gcc if you haven’t.
    • Install g++ if you haven’t.
    • Install binutils if you haven’t.
    • Install nasm if you haven’t.
    • Install xorriso if you haven’t.

    Go into the MaslOS2 Folder and run the CRUN.sh file

    If you are trying this and getting weird compiler/linker errors, please let me know!

    gcc and ld like to break things in newer versions for some reason. 😀

    How to run (No need to build)

    How to run (Linux)

    Install QEMU if you haven’t.

    Download/clone the repo.

    Run the cDisk.sh file to generate an empty disk so QEMU can boot correctly.

    Run the JUST RUN OS.sh file to run it!

    You can also use the JUST RUN OS_KVM.sh file to run it faster if you are natively on linux.

    How to run (Windows)

    QEMU

    Install QEMU if you haven’t.

    Add QEMU To your PATH variable. If you need help, click here!

    Then download/clone the repo and run the run.cmd file

    Other

    You can also boot the ISO in other software like Virtualbox and it tends to run way faster there.

    Hardware

    You can flash the ISO to a usb drive using tools like Rufus and if you are lucky, your device should boot MaslOS2 fine.

    NOTE: As MaslOS2 uses PS/2 for mouse and keyboard input, it could happen that you cannot use it without actual PS/2 devices if your bios does not emulate them.

    Contributing

    I am still working on quite a few things that need to be done for MaslOS2 to be in a good state.

    Meaning that not everything is 100% implemented yet and some needed things could be missing.

    The Docs can be found here.

    If you want to contribute by adding your own little apps/tools/games/ports I would be very happy!

    If you need any help / have any questions or are curious about MaslOS2, feel free to contact me per discord. (@marceldarcel)

    Screenshots

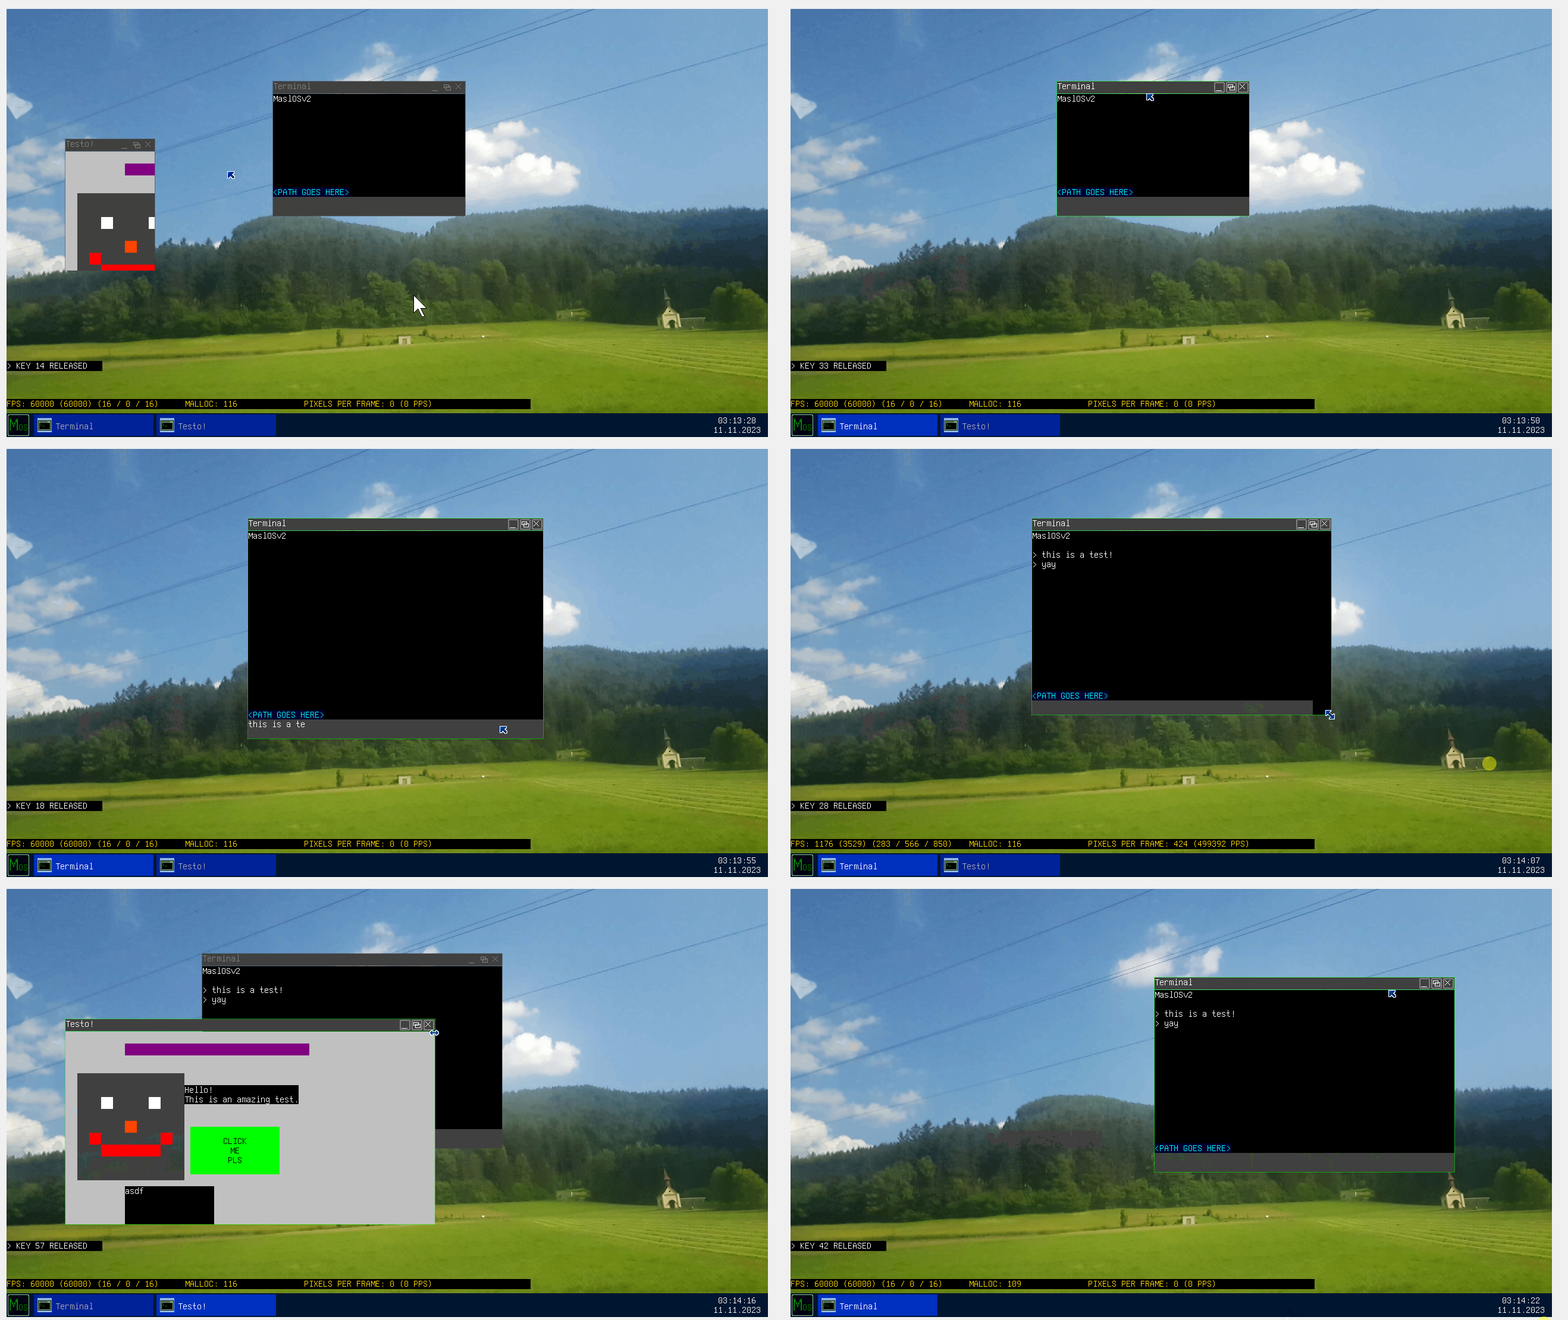
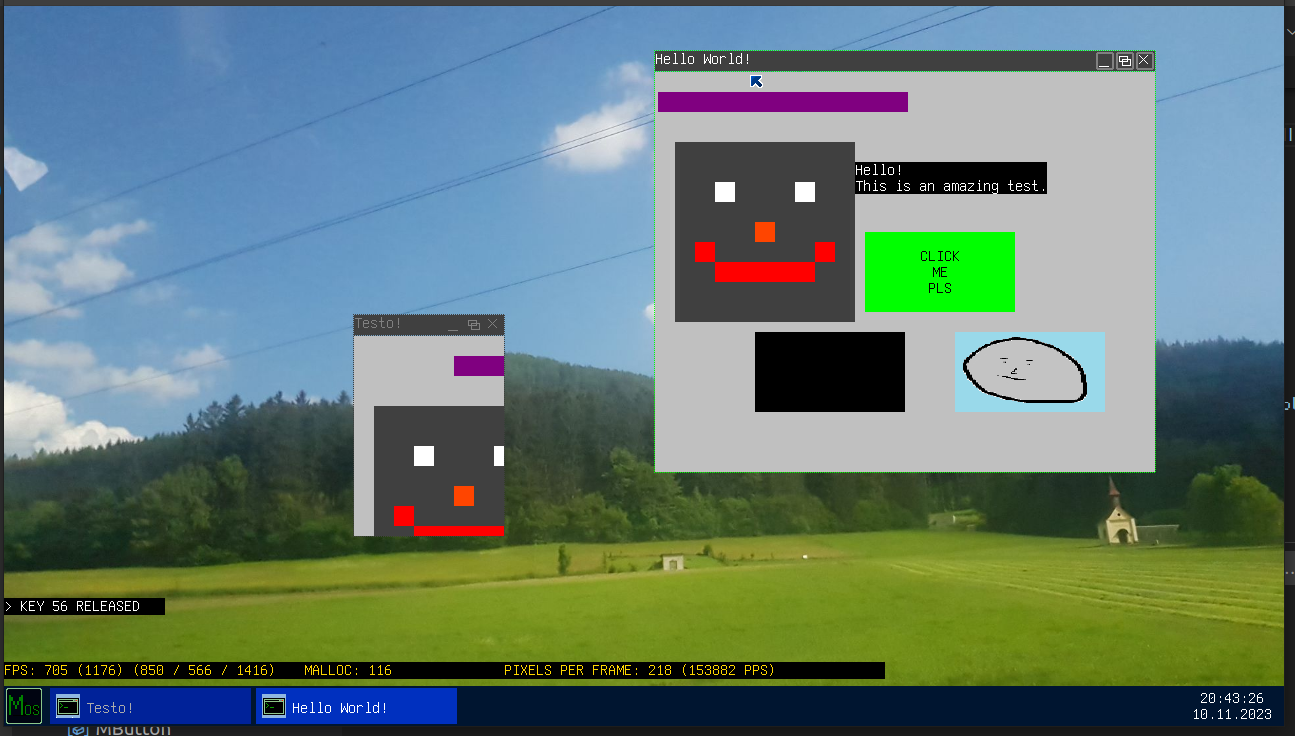
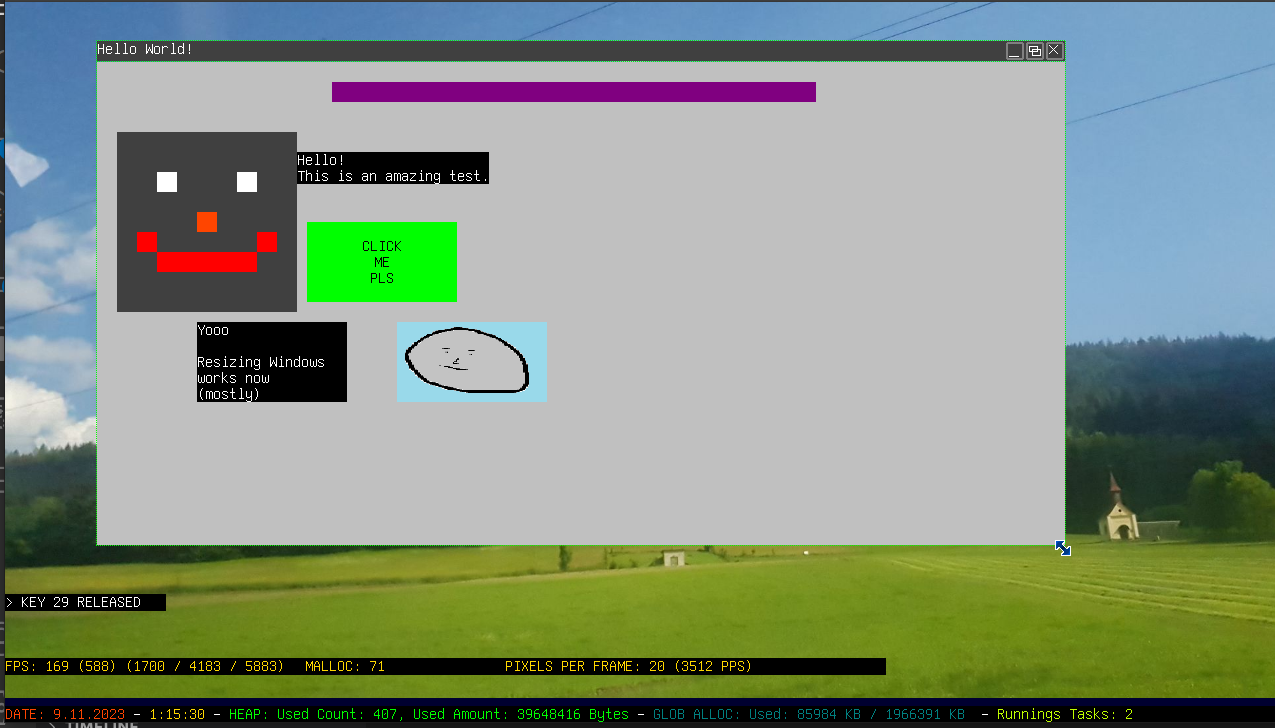
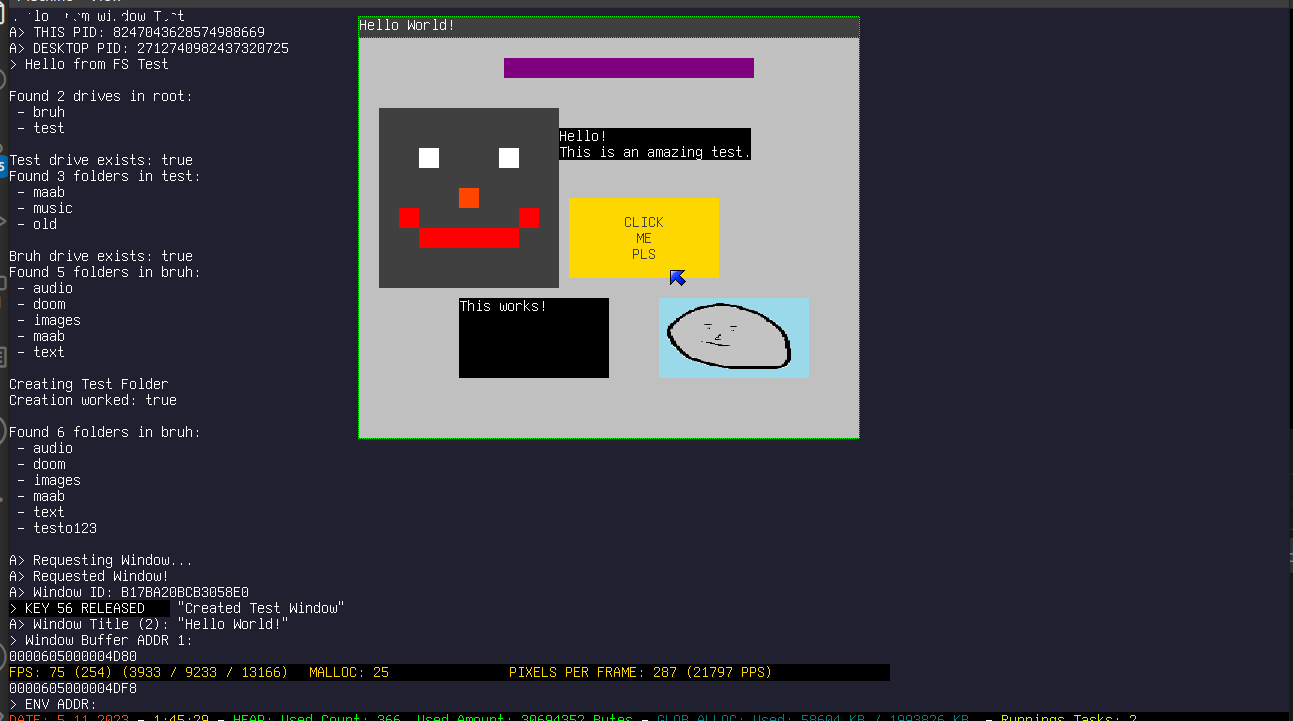
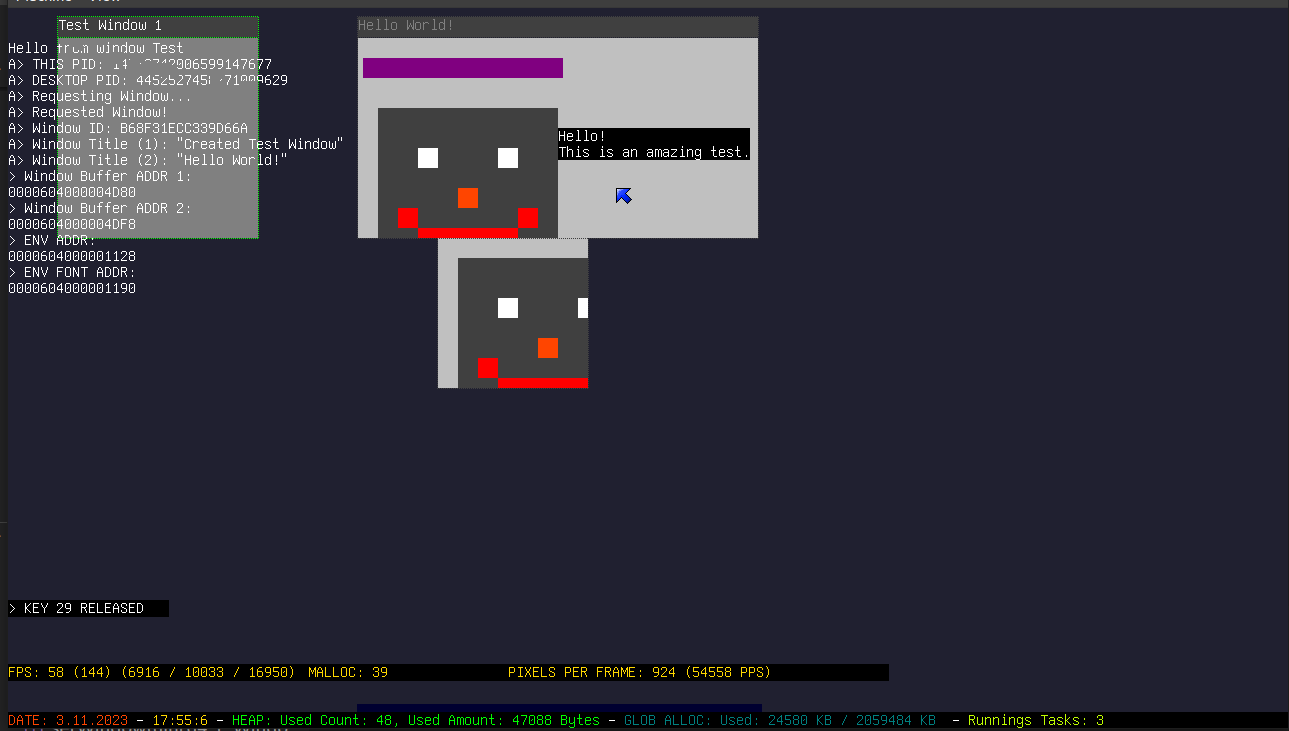
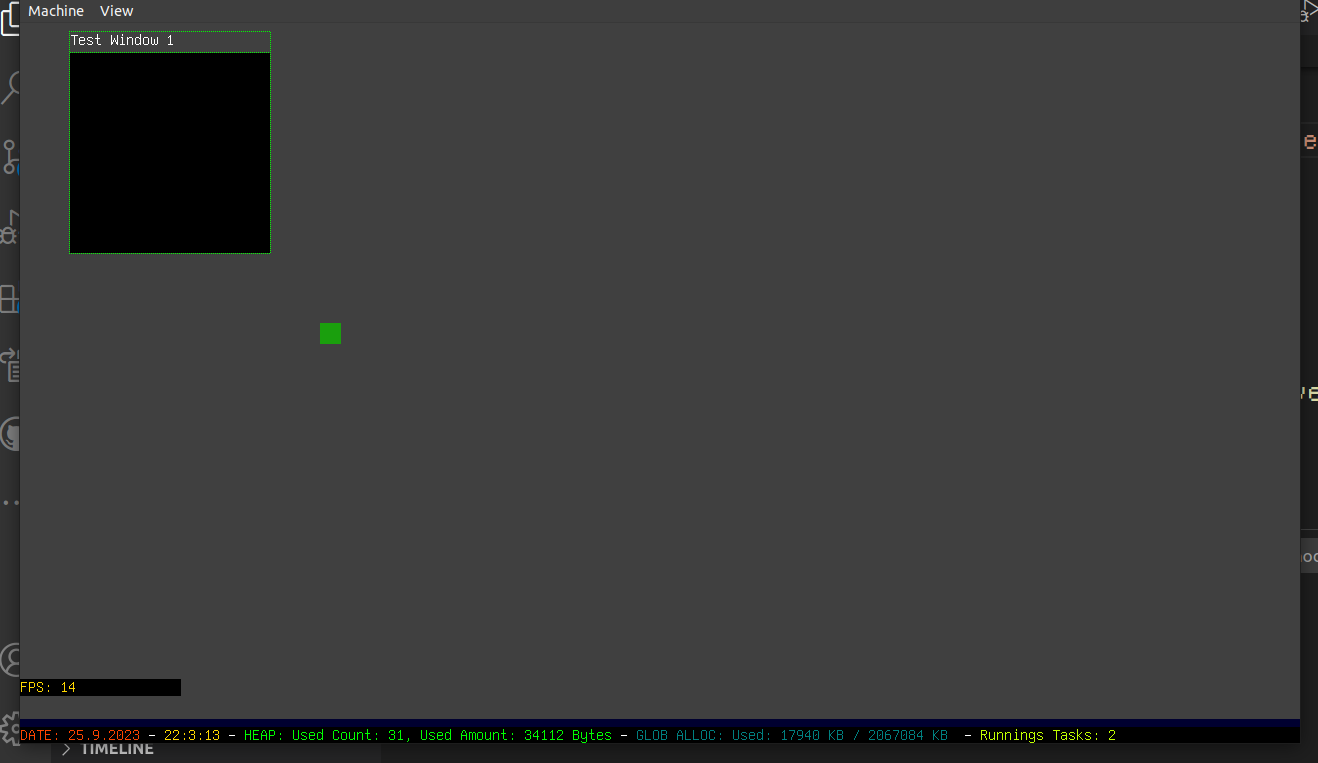
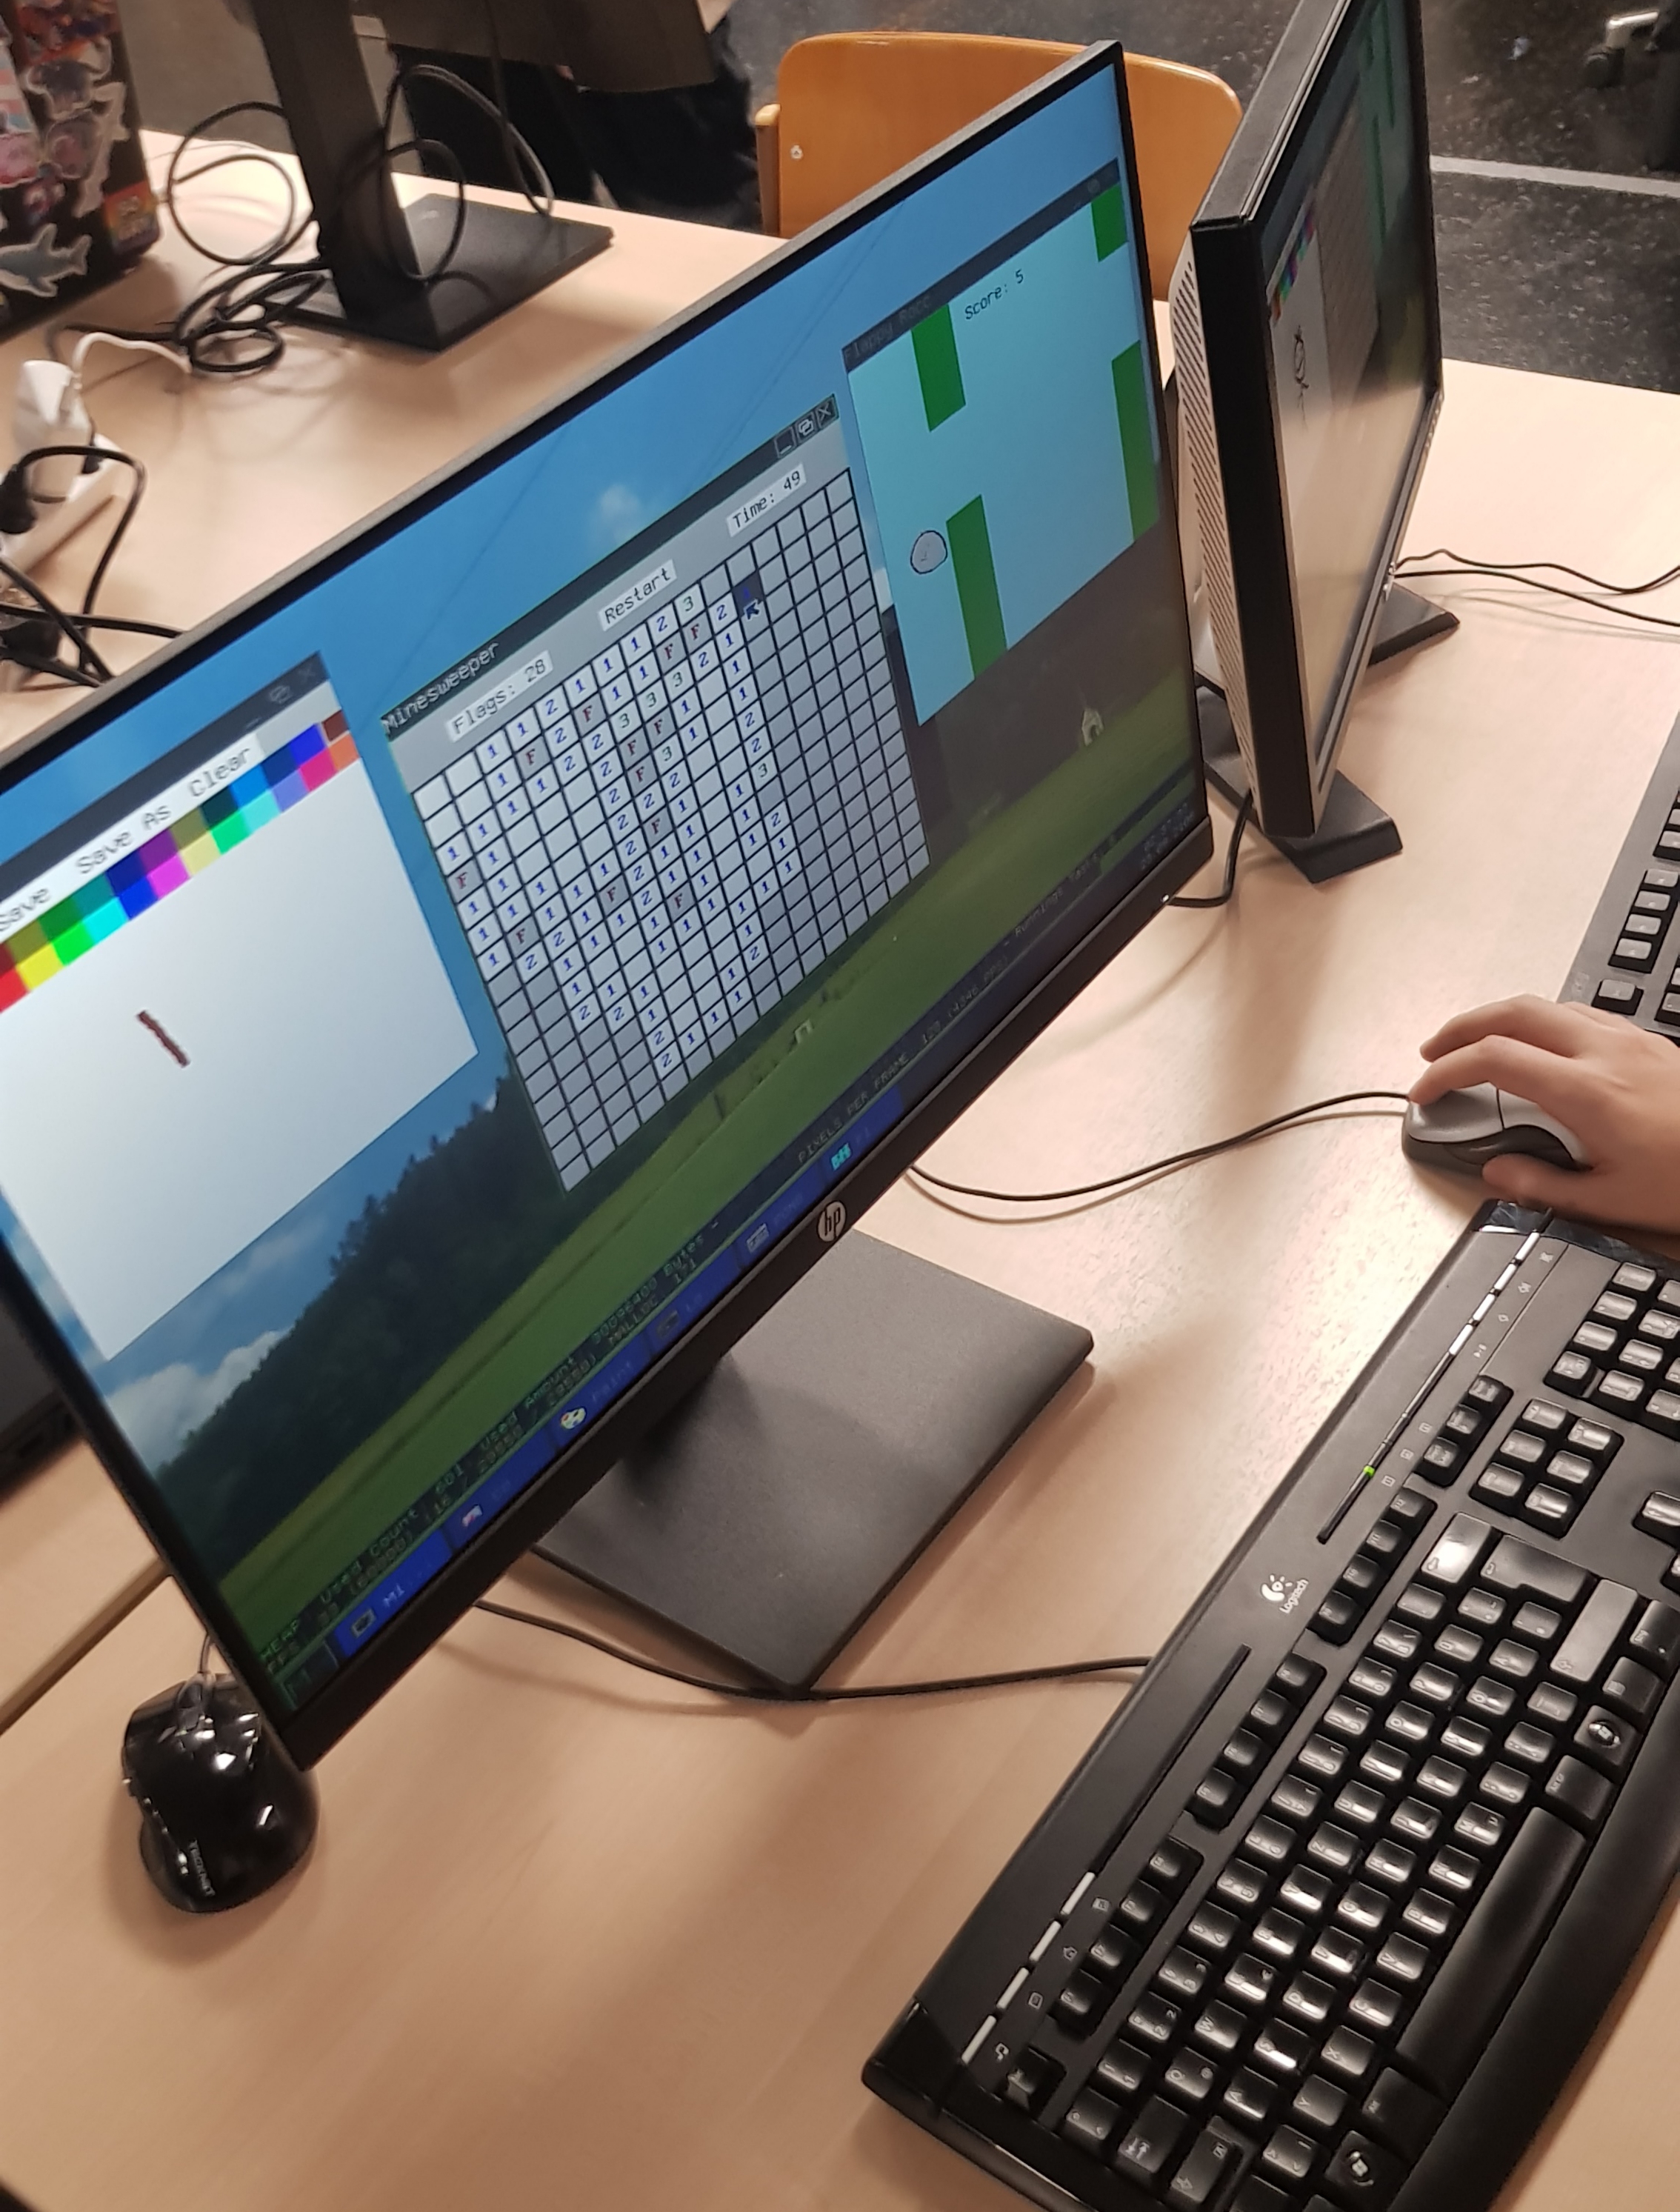
    Showing off some apps MaslOS2 on display at my schools day of open doors Minesweeper The start menu Doom More apps ported Working more on the terminal Working on the terminal Taskbar yes WM almost on par with MaslOS More WM progress WM progress Beginning to work on WM A Bootscreen yes

    Thanks to:

    Visit original content creator repository https://github.com/marceldobehere/MaslOS-2
  • DEPRECATION NOTICE

    DEPRECATION NOTICE

    I’ll archive the repo by the end of August 2021.

    The main reason is Hugo pipes are built-in and pretty much cover what Hugulp does.

    I think the only part missing is image optimization, but I think you can build a pipe to do it.

    The other reason is it badly needs an update to gulp 4 and although it doesn’t seem like that hard a task, I don’t have the appetite to do it.

    hugulp 2

    v2 Breaking changes

    If you’re using hugulp v1, please take note of the following changes:

    • hugo is no longer invoked by hugulp

      use hugo as per its docs, then invoke hugulp build

    • put your assets in the static folder

      for example, static/styles, static/images, static/scripts

    • themes are supported out of the box

    Note: If you need sass/less/js pre-processing, read v2 docs below

    Description

    hugulp is a tool to optimize the assets of a Hugo website.

    The main idea is to recreate the famous Ruby on Rails Asset Pipeline, which minifies, concatenates and fingerprints the assets used in your website.

    This leads to less and smaller network requests to your page, improving overall user experience.

    Read this blog post and this article for additional context.

    Note: These articles refer to v1

    It’s internally driven by Gulp.

    This project Includes the following tools, tasks and workflows:

    Installation

    Node needs to be installed in your system.

    Then just

    $ npm install -g hugulp

    Or you can build and run using docker:

    # Default docker setup:
    $ ./scripts/create-docker-machine-and-run-it
    
    # -- OR --
    
    # Run with custom machine name, specific hugo version, specific node version and run docker in detached mode:
    $ ./scripts/create-docker-machine-and-run-it -a app-devel -g 0.20.6 -n 6.10.0 -d

    Note: You only run the ./scripts/create-docker-machine-and-run-it if you want to create a new docker machine. Once the docker machine is created, you have to use docker commands to manage it. Please be familiar with docker in this regard.

    Getting Started

    The most common usage scenario would be:

    $ hugo new site yoursite
    $ cd yoursite
    $ hugulp init
    # create content
    # add images (static/images), css (static/styles) and javascript (static/scripts)
    $ hugo server -D # for development
    # development is done, ready to publish
    $ rm -rf public # clean up public folder, it will be re-generated by hugo
    $ hugo # for release/production/deployment
    $ hugulp build # optimize the site by running the asset pipeline

    Another scenario would be to include sass/less pre-processing:

    $ hugo new site yoursite
    $ cd yoursite
    $ hugulp init
    # create content
    # add images (static/images), and javascript (static/scripts)
    # add sass/less (assets/styles)
    $ hugo server -D # for development
    $ hugulp watch # to convert sass/less (assets/styles) into css (static/styles)
    # development is done, ready to publish
    $ rm -rf public # clean up public folder, it will be re-generated by hugo
    $ hugo # for release/production/deployment
    $ hugulp build # optimize the site by running the asset pipeline

    In both cases, you could chain the last 3 commands:

    $ rm -rf public && hugo && hugulp build

    hugulp requires a configuration file (.hugulprc), which is created by the hugulp init command (you can create the file manually if you want).

    This is the default .hugulprc:

    {
      "version": 2,
      "pipeline": ["images", "styles", "scripts", "fingerprint", "html"],
      "path": {
        "styles": "styles",
        "images": "images",
        "scripts": "scripts"
      },
      "watch": {
        "source": "assets",
        "target": "static"
      },
      "build": {
        "source": "public",
        "target": "public"
      },
      "autoprefixer": {
        "browsers": ["last 2 versions"]
      },
      "cleancss": {
        "advanced": false
      },
      "htmlmin": {
        "collapseWhitespace": true
      },
      "gifsicle": { "interlaced": true },
      "jpegtran": { "progressive": true },
      "optipng": { "optimizationLevel": 5 },
      "svgo": {
        "plugins": [{ "removeViewBox": true }, { "cleanupIDs": false }]
      }
    }

    You can easily customize hugulp‘s behavior, by modifying this configuration file, as described below.

    Available Commands

    hugulp watch

    hugulp will assist you if you’re using sass/less (and javascript), which require pre-processing.

    It will watch for changes to styles or script files, process them and write them to hugo’s static folder, according to the following table

    In Folder Looks for Operation Written to
    assets/styles s[a|c]ss, less, css Convert sass/less to css static/styles
    assets/scripts js Lint javascript code (soon babelify) static/scripts

    Note: It searches the folders recursively

    The table above applies to hugulp run with a default .hugulprc.

    You can customize the folder names: resources instead of assets, js instead of scripts and so on.

    This is described in the .hugulprc section below.

    hugulp build

    It optimizes the site that hugo built, by running the asset pipeline as defined in .hugulprc (field pipeline).

    Additionally, files are not watched for changes

    hugulp version

    Display installed version.

    hugulp init

    Create a default .hugulprc.

    Configuration

    By editing the .hugulprc configuration file, you can customize almost anything about hugulp.

    Description of each field follows:

    pipeline

    Defines which tasks of the asset pipeline will be executed (hugulp build command)

    Type: array
    Default:

    "pipeline": ["images", "styles", "scripts", "fingerprint", "html"]

    Task Description
    images minify images with imagemin
    styles pre-process sass/less/css, then clean-css
    scripts jshint, then uglify
    fingerprint fingerprint with rev, then replace references with rev-replace
    html minify html with htmlmin

    Let’s say you don’t want to fingerprint the assets. Just set pipeline to

    "pipeline": ["images", "styles", "scripts", "html"]

    By removing the fingerprint task, it will not be executed.

    Note that tasks are executed sequentially.

    path

    Defines the name of the folders where your assets are located/will be transferred to.

    Type: object
    Default:

    "path": {
      "styles": "styles",
      "images": "images",
      "scripts": "scripts"
    }

    So if you prefer your styles folder to be called css, and scripts to be called js, you would change it to:

    "path": {
      "styles": "css",
      "images": "images",
      "scripts": "js"
    }

    watch

    Define which folders to watch for changes, for the hugulp watch command.

    Type: object
    Default:

    "watch": {
      "source": "assets",
      "target": "static"
    }

    This field works together with the path field.

    With a default .hugulprc, it will watch assets/styles and assets/scripts (recursively).

    If you customized path as per above, it will watch assets/css and assets/js.

    If you additionally want the assets folder to be called resources, change source to resources

    "watch": {
      "source": "resources",
      "target": "static"
    }

    then it will watch resources/css and resources/js

    Finally, the changes will be written to the well-known hugo static folder.

    With a default .hugulprc, files will be written to static/styles and static/scripts.

    build

    Defines the folders referenced during the hugulp build command

    Type: object
    Default:

    "build": {
      "source": "public",
      "target": "public"
    }

    This should generally be left unchanged.

    hugo will output to the public folder by default, so hugulp build will process the files in-place.

    autoprefixer

    Options for autoprefixer. Check gulp-autoprefixer for documentation.

    Task: styles

    Type: object
    Default:

    "autoprefixer": {
      "browsers": ["last 2 versions"]
    }

    cleancss

    Options for clean-css. Check gulp-clean-css for documentation.

    Task: styles

    Default:

    "cleancss": {
      "advanced": false
    }

    htmlmin

    Options for htmlmin. Check gulp-htmlmin for documentation.

    Task: html

    Default:

    "htmlmin": {
      "collapsedWhitespace": true
    }

    gifsicle

    Options for gifsicle. Check gulp-imagemin for documentation.

    Task: images

    Default:

    "gifsicle": {
      "interlaced": true
    }

    jpegtran

    Options for jpegtran. Check gulp-imagemin for documentation.

    Task: images

    Default:

    "jpegtran": {
      "progressive": true
    }

    optipng

    Options for optipng. Check gulp-imagemin for documentation.

    Task: images

    Default:

    "optipng": {
      "optimizationLevel": 5
    }

    svgo

    Options for svgo. Check gulp-imagemin for documentation.

    Task: images

    Default:

    "svgo": {
      "plugins": [{ "removeViewBox": true }, { "cleanupIDs": false }]
    }

    How to update

    Whenever a new hugulp version becomes available, you can update it by running

    $ npm install -g hugulp

    PR

    Pull Requests are welcome 👍.

    Share

    Made by Juan B. Rodriguez, with a MIT License.

    Please share the article or leave your comments.

    Visit original content creator repository
    https://github.com/jbrodriguez/hugulp